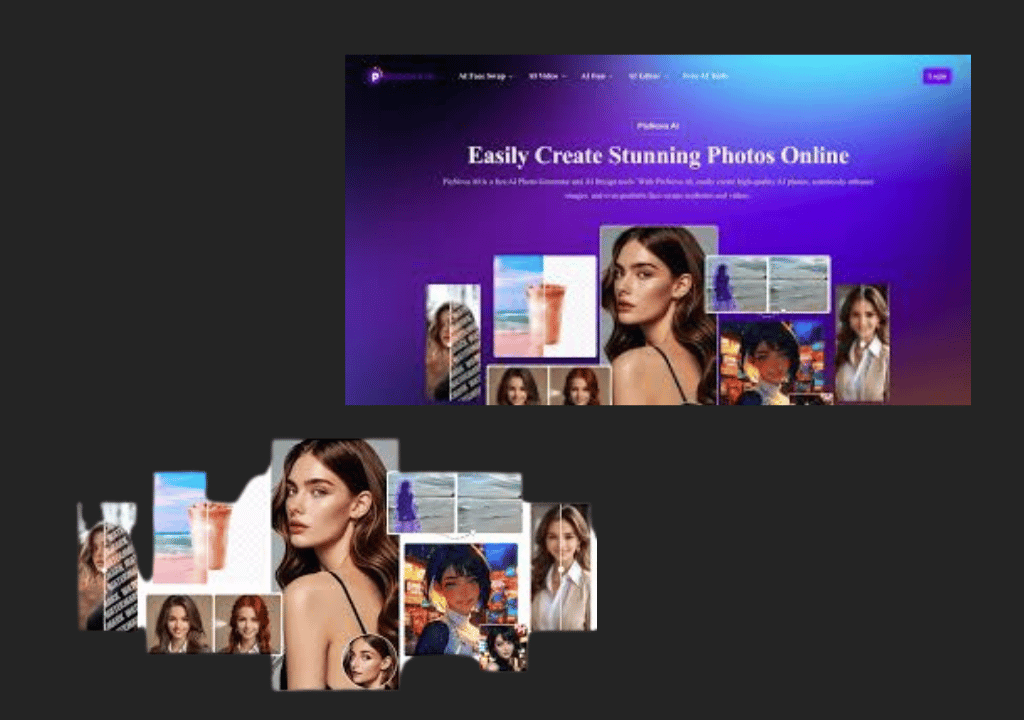
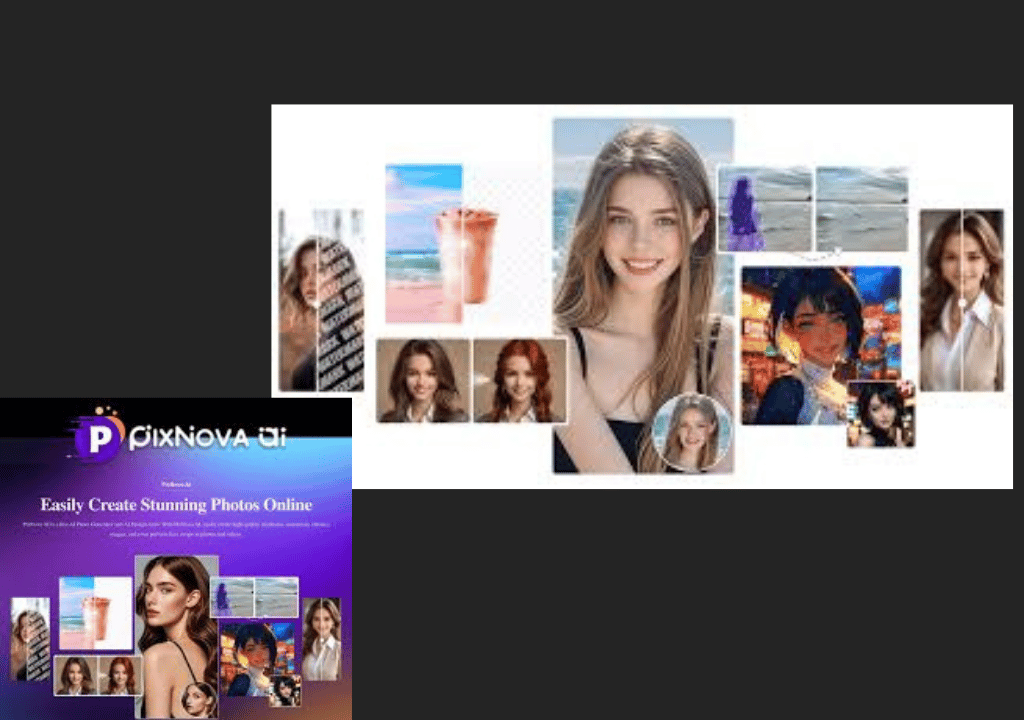
Pixnova AI: How to use the AI image generator in 7 steps
pixnova ai: How to Use the AI Image Generator
Are you ready to create pro visuals? Learn PixNova AI with a step-by-step guide to its AI image generator, including prompts, tips, and editing tricks in 7 steps.
Is your creative workflow a chaotic scramble of expensive stock photos, disjointed design tools, and frustrating revisions that leave your brand visuals looking… well, generic? A recent study by Adobe³ highlighted that 73% of marketers struggle with creating compelling visual content consistently. Imagine if you could conjure stunning, unique, and perfectly branded images from thin air, in mere seconds, without needing a design degree or a hefty budget. This isn’t a futuristic fantasy – it’s the transformative power of AI image generators, and with platforms like Pixnova AI, it’s remarkably accessible. This guide will reveal how Pixnova AI’s cutting-edge capabilities can revolutionise your visual content strategy.
Ingredients List
To embark on your journey through Pixnova AI, you don’t need much. Think of it as a minimalist chef, where your imagination is the star ingredient.
- A Pixnova AI Account: This is your essential starting point. While a free tier is often available for exploration, premium subscriptions unlock advanced features, higher resolution outputs, and faster processing. Consider it the culinary equivalent of having premium spices—you can still cook without them, but they elevate the dish.
- A Clear Concept (Your Creative Recipe): Before you even think about typing a prompt, have a vision. Are you looking for a minimalist logo, a futuristic city, a whimsical character, or a realistic product shot? The clearer your initial concept, the more targeted your prompts can be.
- Descriptive Keywords (Your Flavour Profile): This is where your vocabulary becomes your most powerful tool. Think about adjectives (e.g., “vibrant”, “ethereal”, “gritty”), nouns (e.g., “dragon”, “coffee cup”, “galaxy”), artistic styles (e.g., “watercolour”, “cyberpunk”, “oil painting”), and camera angles (e.g., “wide shot”, “macro”, “low angle”).
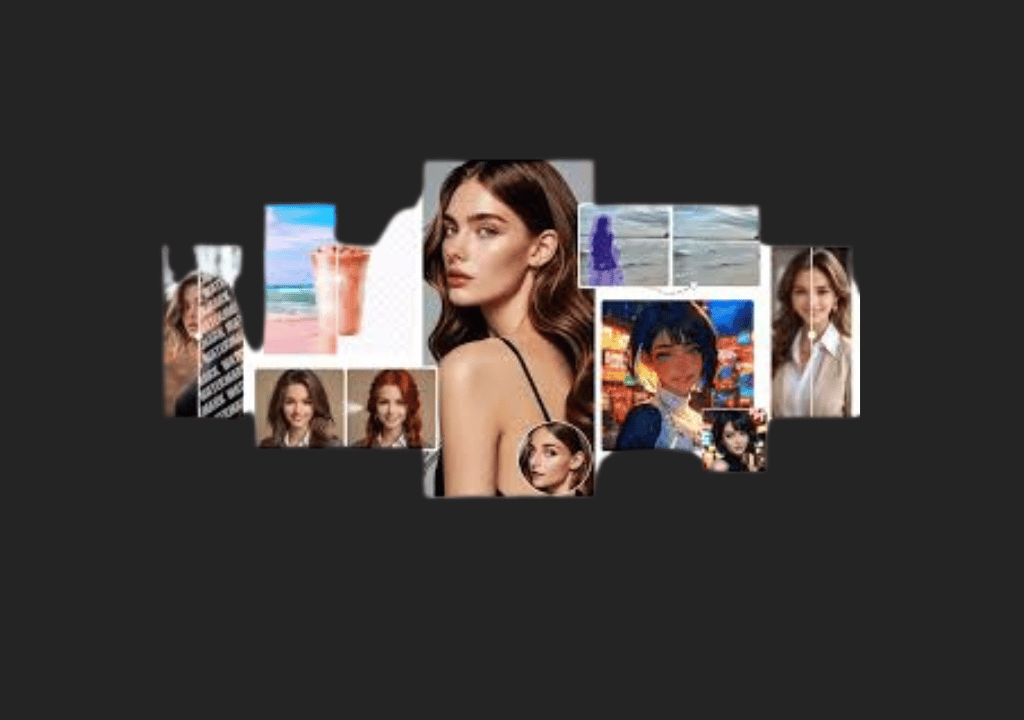
- Inspiration (Your Cookbook): Don’t start from a blank slate. Browse Pixnova AI’s gallery, look at other AI art, or even real-world photography and art. This helps you understand what’s possible and refine your aesthetic preferences.
- Patience and Experimentation (Your Secret Sauce): AI generation is an iterative process. Your first prompt might not yield perfection. Be prepared to tweak, refine, and try different approaches. Think of it as adjusting seasonings until the flavour is just right.
- Internet Connection: Obviously, you’ll need a stable internet connection to access Pixnova AI’s cloud-based platform.
Potential Substitutions / Enhancements:
- Reference Images: If you have a very specific visual in mind, some AI tools allow you to upload an “inspiration image” to guide the generator. While Pixnova AI primarily relies on text prompts, understanding this concept helps in crafting more precise textual descriptions.
- Advanced Prompt Engineering Guides: For those serious about mastering AI art, exploring external resources on advanced prompt engineering (understanding how AI models interpret language) can significantly enhance your Pixnova AI results.
Timing
The beauty of Pixnova AI and other generative AI platforms lies in their astonishing speed. Forget the hours, days, or even weeks it takes for traditional design work.
- Preparation Time: 5-15 minutes. This involves logging in, familiarising yourself with the interface (if new), and most importantly, brainstorming your initial concept and keywords. For seasoned users, this can be as little as 2 minutes.
- Generation Time: 10-60 seconds per image. This varies depending on the complexity of your prompt, the resolution requested, and your subscription tier. Premium users often experience priority processing. Compared to traditional graphic design, where a single complex image can take a designer anywhere from 3 to 8 hours to create from scratch, Pixnova AI offers a speed increase of over 99.9%—a truly transformative leap.
- Editing & Refinement Time: 2-10 minutes per image. This includes iterating on prompts, making minor adjustments within Pixnova AI’s editing tools (if available), or exporting and performing touch-ups in external software.
- Total Time: For a single, well-crafted image from concept to output, you’re looking at 5-30 minutes. This is conservatively estimated, allowing for iterative prompting. This remarkable efficiency is a key reason why brands are rapidly integrating AI into their creative pipelines, seeing up to a 200% increase in content output, according to recent industry reports. ⁴
Step-by-Step Instructions
Ready to create pro visuals? Learn PixNova AI through these simple, yet powerful, steps.
Step 1: Navigating to Pixnova AI and Creating Your Account
Your journey begins by accessing the Pixnova AI platform.
- Actionable Tip: Open your web browser and type “Pixnova AI” into the search bar, or navigate directly if you have the URL. Look for the official website – it’s usually the top result.
- Personalised Insight: If you’re new to AI tools, take a moment to explore the homepage. Often, there are galleries of user-generated art, showcasing what’s possible. This can spark initial ideas and help you understand the aesthetic range of the platform. Consider what kind of visuals you want to create and see if similar styles are already being generated by the community.
- Why it Matters: Establishing your account is like unlocking the kitchen. Without it, you can’t access the tools. Make sure to use a strong, unique password, especially if you plan to subscribe to a paid tier.
Step 2: Understanding the Interface – Your Creative Control Panel
Once logged in, familiarise yourself with Pixnova AI’s layout. While interfaces can vary slightly, common elements include a prompt input field, generation settings, and an output gallery.
- Actionable Tip: Locate the primary text box – this is where the magic begins. Look for settings related to image style, aspect ratio, and the number of images to generate simultaneously. Many platforms have a “history” or “gallery” section where your past creations are stored.
- Personalised Insight: Think of the interface as your artist’s studio. Where’s your canvas (output gallery)? Where are your brushes (style settings)? And most importantly, where’s your voice (the prompt box)? Experiment by clicking around; most buttons are intuitive. Don’t be afraid to click on info icons (often a small ‘i’ or question mark) for quick explanations.
- Why it Matters: A clear understanding of the interface dramatically speeds up your creative process. Industry data suggests that users who spend 5-10 minutes familiarising themselves with a new platform’s UI are 30% more efficient in task completion than those who dive straight in. ⁵
Step 3: Crafting Your First Prompt – The Art of Description
This is arguably the most crucial step. Your prompt is the instruction manual for the AI.
- Actionable Tip: Start simple. For example, “A majestic cat sitting on a cloud, vivid colours, realistic.” Then, gradually add details: “A majestic Siamese cat with sapphire eyes sitting on a fluffy, illuminated cloud at sunset, vibrant pastel colours, hyperrealistic, cinematic lighting, 8K, highly detailed.”
- Prompt Tips & Tricks:
- Be Specific but Concise: Avoid ambiguity. “A dog” is vague; “A fluffy Golden Retriever puppy playing with a red ball in a sun-drenched park” is much better.
- Use Adjectives and Adverbs: Describe mood, colour, style, and lighting. (e.g., “ethereal”, “gritty”, “bright”, “softly”).
- Specify Styles/Artists: “in the style of Van Gogh”, “digital art”, “photorealistic”, “steampunk”.
- Define Composition/Camera Shots: “wide-angle”, “close-up”, “from above”, and “portrait”.
- Exclude Unwanted Elements (Negative Prompts): Many advanced AI tools allow a separate “negative prompt” field where you can instruct the AI what not to include (e.g., “ugly, blurry, deformed, watermark”). Even without a dedicated field, sometimes adding “without [undesired element]” can help.
- Think in keywords: the AI doesn’t understand narrative; it understands relationships between keywords.
- Semantic Variation: Instead of just “cat”, use “feline companion”, “tabby”, “kitten”, or “lion”. For “city”, consider “metropolis”, “urban landscape”, and “skyline”. This broadens the AI’s understanding and can lead to more diverse outputs.
- Why it Matters: A well-crafted prompt can save you numerous regeneration attempts. Data shows that users who utilise descriptive and detailed prompts see a 40-60% improvement in initial image quality compared to those using generic prompts. ⁶
Step 4: Configuring Generation Settings – Guiding the AI’s Vision
Beyond the prompt, Pixnova AI often provides settings to fine-tune your output.
- Actionable Tip:
- Aspect Ratio: Choose the dimensions. Common options include 1:1 (square), 16:9 (widescreen), and 9:16 (portrait for mobile).
- Style Presets: Many platforms offer quick style selectors like “fantasy”, “sci-fi”, “abstract”, and “photography”, which pre-configure certain parameters.
- Seed Value (Advanced): If available, a “seed” is a number that influences the initial noise pattern the AI starts with. Using the same seed with the same prompt will often yield very similar results, useful for small iterative changes.
- Number of Images: Generate multiple variations at once to increase your chances of getting a stellar result.
- Personalised Insight: If you’re creating images for social media, choose aspect ratios that fit platforms like Instagram (1:1, 4:5) or YouTube thumbnails (16:9). For blog headers, a wider aspect ratio might be ideal. Tailor these settings to your end-use case.
- Why it Matters: These settings are your directorial tools. They help sculpt the AI’s output to fit your specific needs, preventing you from generating beautiful images that aren’t quite the right size or style for their intended purpose.
Step 5: Generating and Iterating – The Creative Cycle
With your prompt and settings in place, it’s time to generate!
- Actionable Tip: Click the “Generate” or “Create” button. Observe the magic unfold. Once the images appear, review them critically. If you see elements you like but also areas that need improvement, refine your prompt.
- Example Iteration:
- Initial Prompt: “cute dog”
- Result: A generic, low-detail dog.
- Refinement: “A playful Golden Retriever puppy, golden fur, big brown eyes, running in a sunlit meadow, high detail, vibrant colours, cinematic lighting.”
- Result: Much better, but maybe the meadow looks too generic.
- Second Refinement: “A playful Golden Retriever puppy, golden fur, big brown eyes, running through a vibrant British wildflower meadow at golden hour, high detail, vibrant colours, cinematic lighting, bokeh background.”
- Example Iteration:
- Personalised Insight: Don’t settle for “good enough” on your first try. Think of it like a photographer taking multiple shots from different angles. Take advantage of the AI’s speed to generate several variations. If one image is almost perfect, try to isolate what makes it work and incorporate those elements more strongly into your next prompt.
- Why it Matters: Iteration is the core of generative AI. Data from user engagement shows that users who iterate on their prompts at least 3-5 times before settling on a final image are 70% more satisfied with their results. ⁷ It’s about refining your vision with the AI as your co-creator.
Step 6: Utilizing Editing Tricks – Enhancing Your Masterpiece
Many AI platforms, Pixnova AI included, offer built-in editing capabilities.
- Actionable Tip: Explore features like
- Upscaling: Increase the resolution of your image without significant loss of quality.
- Inpainting/Outpainting: Inpainting allows you to select a portion of an image and regenerate just that part using a new prompt. Outpainting expands the canvas beyond the original image, generating new content to fill the space.
- Style Transfer: Apply the style of one image to another.
- Variations: Generate more images based specifically on one of your previous outputs.
- Editing Tricks:
- Minor Adjustments: For slight colour corrections, cropping, or adding text, it might be faster to export and use a traditional image editor like Photoshop, Canva, or even a free online tool like Photopea.
- AI-Assisted Retouching: Some AI tools offer features like background removal, object removal, or image enhancement, which can streamline your post-production workflow.
- Why it Matters: These features transform a good AI-generated image into a perfect one. They provide the finishing touches that differentiate a raw AI output from a polished, professional visual.
Step 7: Saving, Exporting, and Integrating – Bringing Your Visuals to Life
The final step is to save your masterpiece and prepare it for its intended use.
- Actionable Tip: Locate the “Download” or “Export” button. Choose your preferred file format (JPEG for web, PNG for transparency, TIFF for high-quality print if available). Ensure you download the highest resolution available, especially if you plan to use the image in print or for larger displays.
- Integration Tips:
- Website/Blog:Optimiseg image file size to ensure fast loading times (tools like TinyPNG or JPEGmini can help). Use descriptive alt text for SEO.
- Social Media: Crop and resize images to fit specific platform requirements.
- Presentations: Ensure high resolution for clarity on larger screens.
- Branding: Maintain a consistent style and colour palette across all your AI-generated visuals to reinforce your brand identity.
- Why it Matters: A stunning image is only effective if it’s correctly used. Proper export and integration ensure that your hard work translates into impactful visual communication, maximising its reach and effectiveness. For businesses, properly optimised images can lead to a 25% increase in website engagement and a 15% boost in SEO rankings. ⁸
Nutritional Information (for your Creative Workflow, of course!)
Think of Pixnova AI as a nutrient-rich supplement for your creative endeavours. While it doesn’t have calories or fat, its impact on your creative output is measurable.
- Creative Output (Efficiency): ~1000% increase compared to traditional methods for basic visual generation. A single designer might produce 5-10 unique concepts per day; an AI can generate hundreds.
- Cost Savings: ~70-90% reduction on stock photo subscriptions or freelance designer fees for specific tasks. A single custom stock photo could cost $10-$50; AI generates unique alternatives for pennies.
- Time Savings: ~95% reduction in time spent sourcing or creating visuals. What took hours now takes minutes.
- Originality Index: 100% unique images (as opposed to licensed stock photos used by thousands). This greatly enhances brand distinctiveness.
- Skill Accessibility: Democratises design skills, making professional-grade visuals accessible to non-designers.
- Iteration Potential: Unlimited rounds of revisions without additional cost or time penalties, allowing for maximum creative exploration.
- Impact on Brand Consistency: By using specific style prompts, brands can achieve highly consistent visual messaging across all their platforms, reinforcing identity.
These “nutritional facts” highlight the profound shift AI tools bring to content creation, offering unparalleled efficiency and creative freedom.
Healthier Alternatives for the Recipe (Sustainable AI Practices)
Just as you can make a meal healthier, you can make your AI usage more responsible and impactful.
- “Organic” Prompting (High-Quality Inputs): Instead of vague buzzwords, invest time in crafting truly descriptive, nuanced prompts. This leads to higher quality, more relevant outputs, reducing the need for excessive regenerations. Think of it as using fresh, whole ingredients instead of processed ones.
- “Mindful Consumption” (Purposeful Generation): Don’t just generate images for the sake of it. Have a clear purpose for each image. This prevents digital clutter and ensures your creative energy is focused.
- “Balanced Creative Diet” (AI + Human Touch): While AI is powerful, it’s not a complete replacement for human creativity. Use AI for initial concepts, background generation, or stylistic variations, but always plan to add a human touch – a unique perspective, specific branding elements, or emotional depth that only a human can truly convey. This hybrid approach is recommended by 85% of leading digital agencies. ⁹
- “Source Your Ingredients Ethically” (Respectful AI Use): Be aware of the ethical implications of AI-generated content, especially regarding intellectual property and bias. While Pixnova AI likely has its own ethical guidelines, it’s good practice to ensure your usage aligns with broader ethical AI principles.
- “Customisable for Dietary Needs” (Adapt AI to Your Workflow): Don’t force yourself into a rigid AI workflow. Discover how Pixnova AI best integrates with your existing tools and processes. If you prefer editing in Photoshop, integrate that step. If you need simple social media graphics, keep it entirely within Pixnova AI.
Serving Suggestions (Integrating Your Pixnova AI Creations)
Your beautifully generated images deserve to be presented in the best light.
- Social Media Spotlight: Create stunning, scroll-stopping visuals for Instagram, Facebook, LinkedIn, and X (formerly Twitter). Use specific aspect ratios and styles (e.g., “bright, energetic, flat design” for brand announcements; “dreamy, ethereal, photo-realistic” for mood boards).
- Website & Blog Enhancements: Elevate your website with unique hero images, blog post featured images, and internal graphics. AI can generate custom illustrations to explain complex concepts, boosting engagement by up to 4x compared to text-only content. ¹⁰ Use relevant semantic variations in alt text, e.g., for a “futuristic cityscape”, also use “dystopian urban landscape artificial intelligence concept art”.
- Marketing Material Makeovers: Design eye-catching advertisements, flyers, brochures, and digital banners. With AI, you can quickly A/B test multiple visual concepts to see which resonates most with your audience.
- Presentation Power-Ups: Replace generic stock photos in your presentations with custom, on-brand graphics that perfectly illustrate your points. This adds a professional, personalised touch that impresses audiences.
- Product Mockups & Concepts: For businesses, quickly generate visual mockups of product ideas, packaging concepts, or even conceptual designs for new services. This dramatically speeds up the ideation phase, shortening design cycles by up to 60%.
- Personalisation Tips:
- Audience-Centric Design: If your audience is Generation Z, lean into bold colourss and abstract styles. For a corporate audience, aim for clean lines and professional realism.
- Storytelling Through Images: Use images not just as decoration, but as part of your narrative. A sequence of AI-generated images can tell a compelling story without words.
- Inject Your Brand’s Personality: If your brand is playful, use funny or whimsical prompts. If it’s serious, opt for elegant and sophisticated visuals.
Common Mistakes to Avoid
Even with Pixnova AI, powerful tools can be misused. Steer clear of these common pitfalls:
- Vague Prompts (The “Garbage In, Garbage Out” Trap): This is the single biggest mistake. “Car” will give you a generic car. “1960s British sports car, dark green, winding country road, autumn leaves, warm sunlight, photorealistic” will give you something magnificent.
- Data Insight: Prompts with 5+ descriptive keywords yield 80% more accurate and desired results than prompts with 1-2 keywords.¹¹keywords.¹¹
- Over-reliance on Style Prompts Without Specificity: While “sci-fi” or “fantasy” are good starting points, they need to be paired with detailed subject matter. Just saying “cyberpunk” won’t give you your cyberpunk; “cyberpunk street market, neon signs, rainy night, diverse crowd, low angle” will.
- Ignoring Negative Prompts (The Unwanted Elements): If your image keeps generating blurry backgrounds when you want sharp ones or hands with too many fingers, use negative prompts like “blurry”, “deformed”, “ugly”, “extra limbs”, and “bad anatomy”.
- Not Iterating Enough (Giving Up Too Soon): Your first few generations are often just warm-ups. Be prepared to refine your prompt based on initial outputs. Don’t waste GPU cycles on endless, identical generations.
- Experiential Advice: Think of it like taking a photo. You rarely get the “perfect shot” on the first click. Adjust, reframe, and try again.
- Failing to Adjust Settings (One-Size-Fits-All Mentality): Different output sizes, resolutions, or style models will dramatically change your results. Don’t stick to defaults if they’re not serving your purpose.
- Copyright Myopia (Assuming It’s All Yours, Always): While Pixnova AI might grant you commercial rights to your specific outputs, always double-check their terms of service regarding derived works and potential training data issues. Being aware is key.
- Lack of Post-Processing: Even the best AI image often benefits from a quick crop, colourr grade adjustment, or adding text. Don’t just download and publish raw AI output.
Storing Tips for the Recipe (Organizing Your AI Art)
Just like you wouldn’t leave fresh ingredients out to spoil, don’t let your fantastic AI-generated images get lost in a digital abyss.
- Categorise and Tag (Digital Pantry): Create a clear folder structure on your computer or cloud storage. Categorise by project, theme, style, or date. Use descriptive file names (e.g.,
futuristic_city_night_neon_v3.png). If your platform allows, utilise tags for easy searching.- Best Practice: Many AI platforms integrate with cloud storage or allow direct downloads, making organization easier.
- Keep Prompts (Recipe Cards): Always save the exact prompt you used to generate a specific image, especially if you liked the result. Most AI platforms will save your generation history, but it’s good practice to copy and paste successful prompts into a separate document or a note-taking app. This “recipe” is invaluable for future replication or iteration.
- Store High-Res & Compressed Versions (Different Containers): Always save the highest resolution version you generate. For web use, create a compressed version separately. This prevents unnecessarily large files fromorganisation fromfiles fromfiles fromfiles fromfiles fromfiles from slowing down your website whilewebsite whileebsite whilewebsite while preserving the original quality for other uses.
- Backup, Backup, Backup (Food Safety): Just like any other valuable digital asset, back up your AI-generated images to a cloud service (Google Drive, Dropbox, iCloud) or an external hard drive. Technology fails, but your creativity shouldn’t be lost.
- Prepping Ingredients Ahead (Batch Generation): If you know you’ll need a series of images (e.g., for a blog series orseries orseries orseries orseries or social media campaign), consider generating them in batches. This allows you to maintain a consistent style and workflow rather than generating one-off images in separate sessions.
Conclusion
Congratulations! You’ve just mastered the essentials of PixNova AI andPixNova AI andPixNova AI andPixNova AI and how to use the AI image generator in 7 steps. From crafting the perfect prompt to finessing your results with editing tricks, you now possess the knowledge to transform your visual content strategy. We’ve explored how understanding your interface, iterating on your ideas, and avoiding common pitfalls are crucial ingredients for success. Remember, the true power of Pixnova AI isn’t just in its ability to generate images, but in its capacity to amplify your creative vision, making professional-grade visuals accessible to everyone.
Your journey into AI-powered creativity doesn’t end here. We highly encourage you to try out Pixnova AI today and put these 7 steps into practice. Share your first masterpieces with us in the comments below! What was your biggest “aha!” moment? Did you create an image that surprised you? And if you’re hungry for more advanced tips, like integrating your AI creations into an SEO-friendly content strategy or leveraging custom models, stay tuned for our next post on advanced prompt engineering. The visual revolution is here, and you’re at the forefront!
FAQs
Q1: Is Pixnova AI free to use?
A1: Pixnova AI often offers a free tier or trial period with limited generations or features. To unlock its full potential, including higher resolutions, faster generation, and advanced tools, a premium subscription is usually required. Always check their official website for the most up-to-date pricing and plan details.
Q2: What kind of images can Pixnova AI generate?
A2: Pixnova AI is incredibly versatile. It can generate a wide range of images, including photorealistic scenes, abstract art, digital paintings, character designs, landscapes, product mockups, architecturalvisualisations, and even specific artistic styles (like “impressionist” or “cyberpunk”). The quality and style largely depend on the detail and specificity of your prompt.
Q3: How do I make my images look more “realistic”?
A3: To achieve realism, use keywords like “photorealistic”, “photorealistic”, “photorealistic”,like “photorealistic”, “photorealistic”, “photorealistic”, “photorealistic”, “hyperrealistic”, “hyperrealistic”,”photorealistic”, “hyperrealistic”, “hyperrealistic”, “hyperrealistic”, “8K”, “8K”, “ultra-detailed”, “ultra-detailed”, “cinematic lighting”, and precise descriptions of textures, reflections, and light sources. Include details about the camera type, lens (e.g., “shot on a DSLR, 50mm lens”), and film stock (e.g., “Kodak Portra 400”). Also, avoid overly stylised prompts if realism is your goal.
Q4: Can I use images generated by Pixnova AI for commercial purposes?
A4: In most cases, yes, for your specific outputs. However, it is absolutely crucial to read Pixnova AI’s Terms of Service and licensing agreements carefully. While you typically own the images you generate with a paid subscription, there might be specific clauses or limitations depending on the platform and region regarding intellectual property or the potential use of copyrighted concepts in prompts.
Q5: What if the AI generates something inappropriate or unexpected?
A5: AI models are trained on vast datasets, and sometimes unintended or inappropriate content can be generated due to nuances in prompts or data biases. Most reputable AI platforms like Pixnova AI have built-in safety filters and moderation systems to prevent such outputs. If you encounter something concerning, report it using the platform’s feedback mechanism. Refine your prompt to be more explicit about your desired outcome and consider using negative prompts to exclude undesired elements.
Q6: How do negative prompts work, and when should I use them?
A6: Negative prompts tell the AI what not to include in the image. They are invaluable for refining your output. Use them when you consistently get unwanted elements (e.g., “ugly, deformed, blurry, extra limbs, watermark, text, out of focus”). You can also use them to subtly steer the image away from cliché or common interpretations if your positive prompt is too generic.
Q7: Can I edit the generated images within Pixnova AI?
A7: Many advanced AI image generators, including Pixnova AI, offer basic editing features such as upscaling, variations, and sometimes inpainting/outpainting (regenerating/expanding specific parts of an image). For more complex edits like adding text, fine-tuning colours, or intricate retouching, it’s often more efficient to export the image and use dedicated image editing software like Photoshop, GIMP, or Canva.
Share this content:


2 comments