
Pixnova AI Body Generator Create Realistic Visuals Fast in 7 steps
Design Faster with Pixnova AI Body Generator
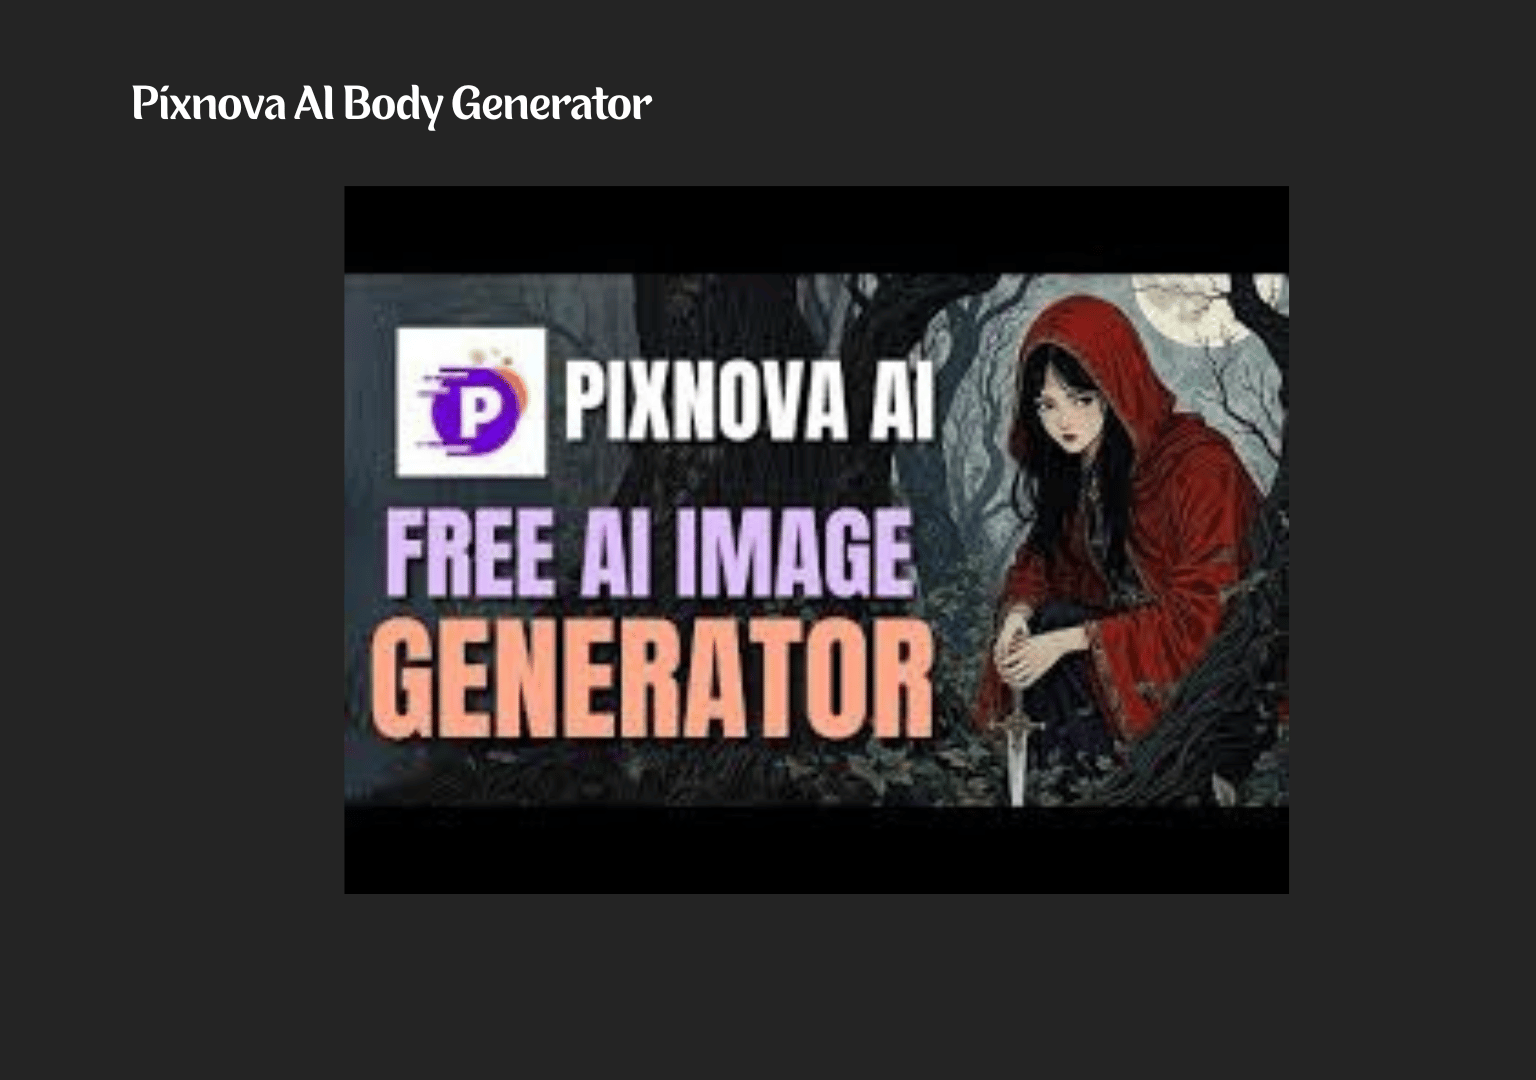
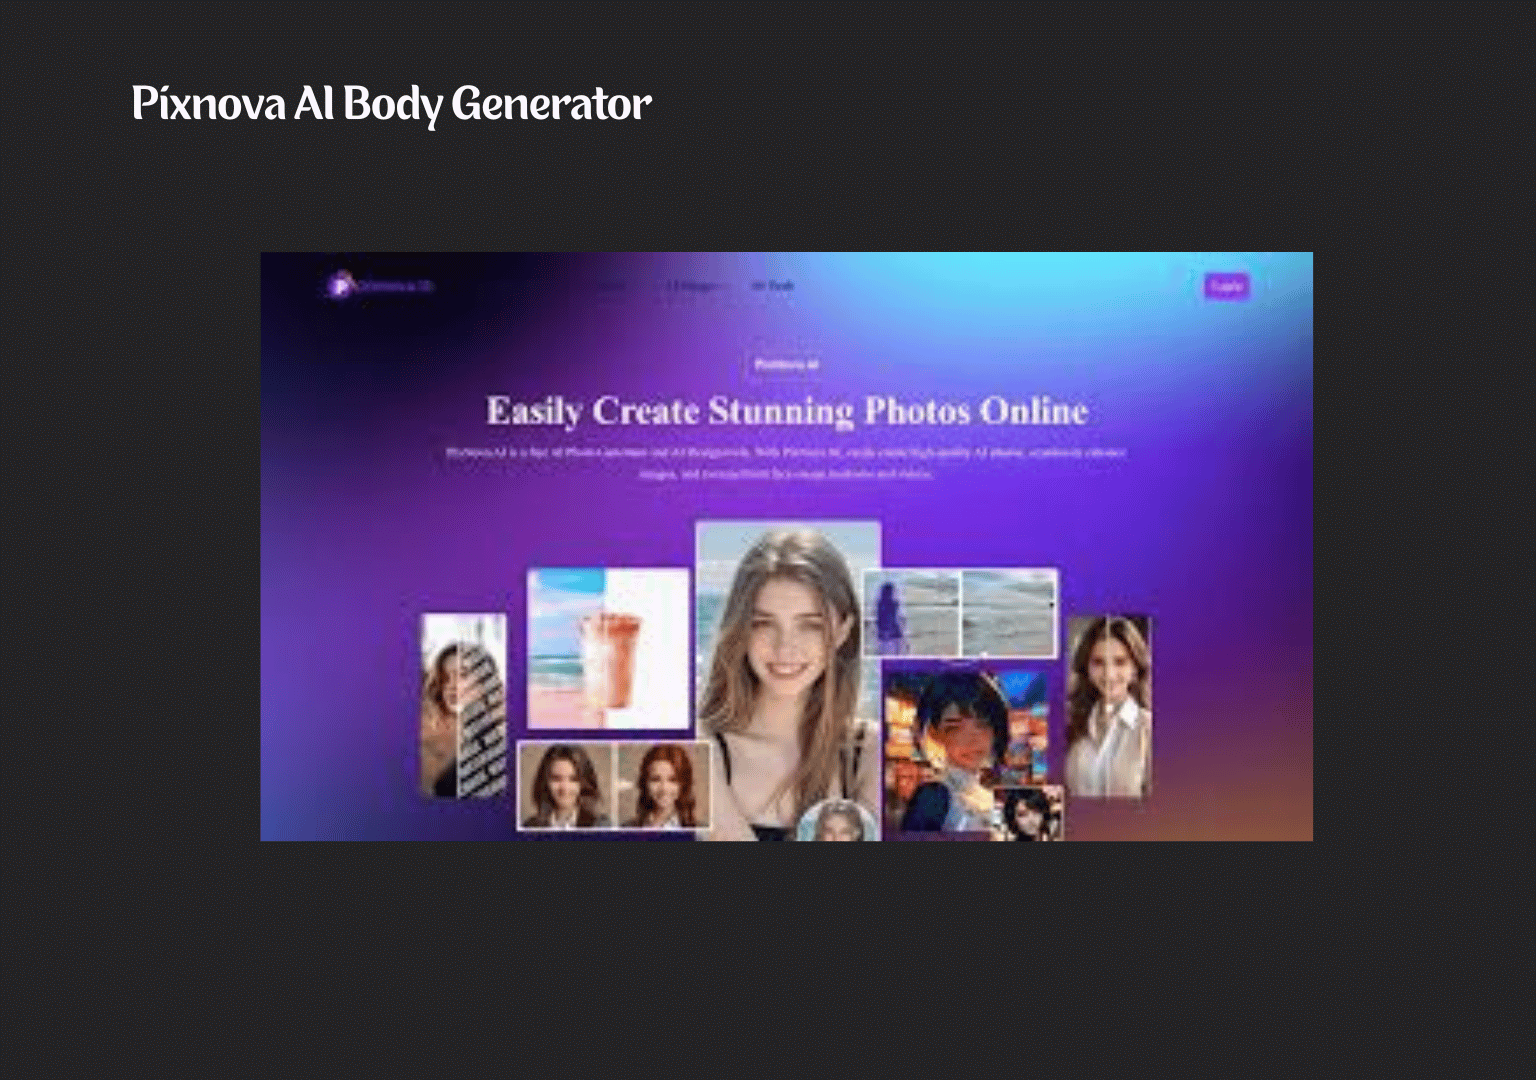
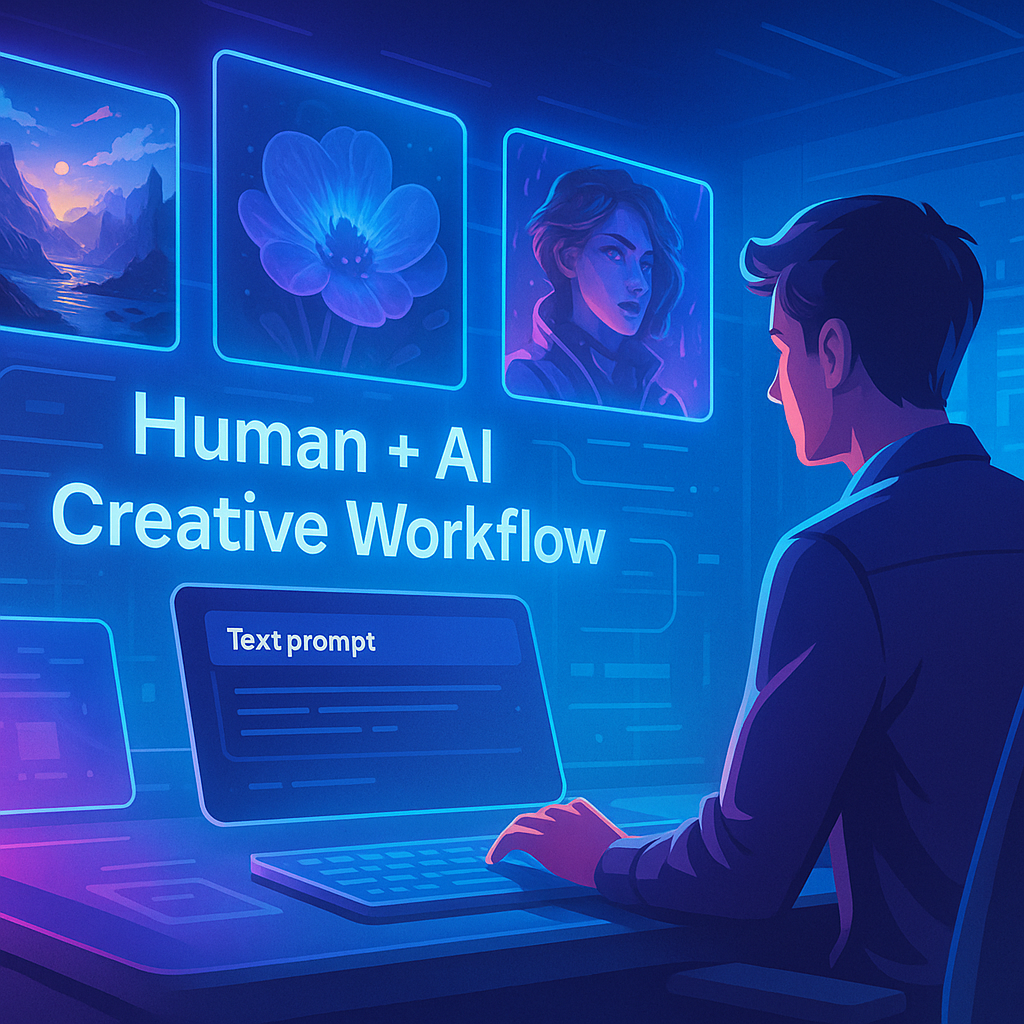
What if you could turn a single idea into a studio-grade visual — in less than a minute? That’s the magic of the Pixnova AI Body Generator, a cutting-edge tool that transforms creative concepts into lifelike, brand-ready images at record speed.
If you’ve ever spent hours juggling stock photos, tedious edits, and last-minute layout fixes, you know how draining visual production can be. Pixnova AI changes that. Its advanced image generator blends AI-powered body modelling, lighting, and styling to give you results that look handcrafted — without the manual effort.
In this guide, you’ll get a practical, data-informed recipe for using Pixnova AI Body Generator to create stunning visuals for blogs, ads, product pages, and social media — even if you’re brand-new to prompt writing or digital design workflows.
🧩 Your AI Visual Creation Setup
Think of this as your mise en place for visual creation. Having these elements ready will make your process smoother and more predictable.
Core Essentials
-
Pixnova AI account and a modern browser:
Log in and confirm you have access to both the generator and the editing suite. Free-tier users should note daily generation limits and export options. -
A clear creative objective:
Define what you’re designing—a hero banner, social post, product thumbnail, or ad creative. This determines the aspect ratio, style, and output resolution. -
Brand assets:
Prepare your logo files (SVG/PNG with transparent background), HEX colour codes, and fonts to maintain consistency. -
Reference images and inspiration:
Collect 2–4 visuals that express your desired mood — cinematic lighting, flat illustration, abstract gradients, or photoreal composition. -
Prompt formula:
Structure your prompts for consistency:Subject or role + key action + setting + style cues (era, medium, lens) + composition terms + color tone + background treatment + output controls (aspect ratio, realism level, negative prompts)
-
Accessibility checklist:
High contrast, readable typography, and descriptive alt text for your exported visuals. -
Time and focus:
Plan one focused 15-minute session per concept — enough for prompting, iteration, and polish.
🧠 Optional Substitutions
-
No brand kit? Use a palette generator to pick two primaries and one accent colour.
-
No reference photos? Start with stock placeholders during ideation, then replace them with Pixnova AI variants.
-
Limited device? Use Pixnova AI Body Generator on desktop for detailed editing and on mobile for quick ideation.
⏱️ Timing Breakdown
| Stage | Duration |
|---|---|
| Prep (goal setting + references) | 2–5 min |
| Prompting & first generation | 1–3 min per concept |
| Iterations & edits | 3–8 min |
| Final polish (upscale & export) | 1–3 min |
Total: 8–15 minutes from idea to publish-ready visual — dramatically faster than traditional design workflows.
Batch processing 3–5 related creatives can further reduce time, as your prompts, style settings, and brand assets are already optimised.
🪄 Step 1 — Define Your Destination
Before prompting, decide where the image will live and what success looks like. Each platform demands different specs and composition priorities.
| Use Case | Dimensions | Style Focus |
|---|---|---|
| Blog Hero | 1920×1080 or 2400×1260 | Space for text overlay, clean gradient, high contrast |
| Instagram Square | 1080×1080 | Strong focal subject, minimal text |
| Story / Reels / TikTok | 1080×1920 | Vertical framing, centered subject |
| Ad Creative | 1200×628 | Leave space for compliance or headline text |
Now, set a one-sentence success criterion:
“A photorealistic human model showcasing our product on a soft gradient background with room for copy on the right.”
This clarity keeps your prompt aligned and makes iteration measurable.
Step 2: Draft a powerful prompt using structured language
Use a structured prompt to minimise randomness:
Base template:
- Subject and action: “Mid-century ceramic mug on a maple table, soft steam rising”
- Environment and mood: “morning light through a window, cozy café ambience”
- Style and medium: “photoreal, 85mm lens, shallow depth of field, soft bokeh”
- Composition: “rule of thirds, ample negative space on the right”
- Color and texture: “warm beige and moss green palette, subtle grain”
- Constraints: “no watermark, no text, clean background”
- Output controls: “–ar 16:9, seed 123, high detail”
Example prompt:
“Photoreal mid-century ceramic mug with matte glaze on a maple table, soft steam, morning window light, cosy café ambience, 85mm lens, shallow depth of field, gentle bokeh, rule of thirds with negative space on the right, warm beige and moss green palette, subtle grain texture, no watermark, no text –ar 16:9 –seed 123.”
Personalisation tip:
- Marketer: Emphasise brand colours and negative space for headline placement.
- Etsy seller: Add “on pure white background, high-key lighting” to meet marketplace standards.
- Educator/blogger: Request “flat illustration, vector-like, bold outlines” for clarity at small sizes.
Step 3: Add precision with style, camera, and lighting cues
Good prompts specify how the image should feel and be captured:
- Style vocabulary: “minimalist Japanese, brutalist poster, Bauhaus colour blocking, watercolour wash, claymation, isometric vector.”
- Camera and lens: “35mm for environmental context; 85mm for portraits and products; macro for details; aerial for layouts.”
- Lighting: “softbox, rim light, chiaroscuro, neon glow, golden hour, volumetric light.”
- Composition helpers: “leading lines, centre composition, symmetrical framing, top-down flat lay, negative space.”
Reference image guidance:
If Pixnova AI supports image-to-image or reference uploads, attach a style or layout reference with low-to-moderate strength so you inherit mood and composition while letting the model innovate.
Step 4: Control the generator—aspect ratio, seed, guidance, and batches
Tame randomness by tuning generation parameters:
- Aspect ratio: Choose early; it determines composition. 1:1 for grids, 9:16 for stories, and 16:9 for banners.
- Seed: Use a fixed seed to reproduce a “look”. Change seed to explore variety. Keep a seed log for future reuse.
- Guidance strength/CFG: Higher values adhere more to your prompt; lower values allow creative drift. If outputs feel literal and stiff, reduce guidance slightly.
- Steps/detail: More steps can yield cleaner detail but add time. For social content, moderate settings are often enough.
- Batch generation: Create 4–8 variations in one go, then shortlist 1–2 best candidates for refinement. Batching accelerates A/B tests across palettes or angles.
Pro tip:
Use negative prompts to remove artefacts: “no text, no watermark, no extra hands, no distorted eyes, no busy background.”
Step 5: Iterate intentionally—variations, remixes, and negative prompts
Treat your first results as drafts:
- Variation on selected regions: Lock the subject, and vary the background or lighting to find the best atmosphere.
- Style remix: Keep the same subject but swap “photoreal” for “flat illustration” or “paper cutout” to generate a second creative route.
- Colour alignment: Add exact HEX codes to bring the image into brand harmony. “background #0E1111, accent #FF5A5F.”
- Negative prompts refinement: If glass looks warped or hands are odd, expand your negative list: “no reflections on edges, no extra fingers, accurate hand anatomy.”
- Micro-edits via partial regenerate: Mask a problem area (e.g., a label) and regenerate just that region instead of the entire image.
Iteration protocol:
- Run 1–2 prompt changes at a time. Document what you changed so you can revert quickly.
- Keep the best three versions, then decide based on your success criterion from Step 1.
Step 6: Edit like a pro—inpaint, outpaint, remove the background, and upscale
Once you’ve selected a base image, jump into Pixnova AI’s editor (or your preferred editor if you’re exporting for external tweaks):
- Inpainting: Brush over an area to replace or repair. Use this to fix textures, add shadows, or clean edges around products.
- Outpainting: Extend the canvas to create more background for headlines or to adapt a 1:1 image to 16:9 without cropping the subject.
- Background tools: Swap to a brand gradient, a subtle pattern, or pure white for e-commerce.
- Relighting and colour grading: Adjust warmth, contrast, and saturation for channel consistency. A slight S-curve often increases perceived “pop”.
- Upscaling: For hero images or print, upscale to 2x–4x. Inspect edges and textural areas to ensure crispness after scaling.
- Accessibility passes: Check contrast ratios for overlay text (aim for WCAG AA minimum). Plan your alt text based on the main subject and intent.
Speed trick:
Save your favourite edits as presets (if available) so you can apply a “house look” to future outputs in seconds.
Step 7: Export, optimize, and ship — Ready to create pro visuals? Learn pixnova ai with a step-by-step guide to its AI image generator, including prompts tips and editing tricks in 7 steps Try
Wrap your workflow with delivery discipline:
- Export: PNG for transparency or graphics with flat colours; JPG/WebP for photos and smaller file sizes. For the web, WebP often offers excellent quality-to-size.
- Compression: Target under 300–500 KB for web hero images where possible; under 200 KB for mobile-first social posts without noticeable artefacts.
- Naming and versioning: Use a consistent scheme: brand_channel_asset-purpose_variant_seed.ext (e.g., acme_ig_story-mug-hero_v3_s123.webp).
- Metadata and alt text: Add descriptive alt text to improve accessibility and search context: “Matte ceramic mug on maple table with morning light and steam.”
- A/B testing: Publish two variants with different palettes or crops. Evaluate based on click-throughs, watch time, or conversion proxy (e.g., add-to-cart).
- Reuse and resize: Create square, portrait, and landscape cuts of the winning design to maximise reach across channels.
Nutritional Information
Think of this as the “creative nutrition facts” for your image output. While exact numbers vary by project and Pixnova AI plan, these guidelines help you choose the right mix.
- Resolution: Social posts perform well at 1080–1440 px on the short edge; hero banners at 1920–2400 px width; print needs 300 DPI at intended size.
- File size: Aim for the smallest file that maintains visible quality. WebP often reduces size 25–50% compared to PNG/JPG at similar quality settings.
- Colour profile: sRGB is the safest profile for web consistency. Convert before export if your workflow introduced other profiles.
- Accessibility “fibre”: High-contrast designs and descriptive alt text improve usability and discovery on many platforms.
- Performance “calories”: Heavy images slow pages. Keep hero images under 500 KB when possible; defer-load secondary visuals.
- Consistency “protein”: Reuse seeds, palettes, and presets to build recognisable brand cohesion over time.
Healthier Alternatives for the Recipe
Want leaner, more accessible, and more sustainable visuals without losing flavour?
- Swap heavy textures for clean gradients: You’ll reduce noise and file size while keeping modern appeal.
- Choose vector or illustration styles for tutorials: Flat or isometric vectors resize cleanly and often compress better than photoreal scenes.
- Embrace high-contrast palettes: improves readability and accessibility; test for WCAG AA for text overlays.
- Use minimal backgrounds for e-commerce: Pure white or soft neutral backgrounds reduce distractions and better showcase products.
- Reduce detail where it doesn’t matter: For story videos and small thumbnails, simplify scenes so key subjects remain legible on small screens.
- Export to WebP for web, and PNG only when you need transparency or exact flat colour fidelity.
- Ethical sourcing: When referencing artists or aesthetics, avoid using living artists’ names; describe styles in generic terms (e.g., “surreal oil painting” rather than a specific artist) to stay on the safe side of creative ethics.
Serving Suggestions
Serve your Pixnova AI creations where they’ll shine:
- Blog hero images: Use a subtle gradient or texture with strong negative space for headlines. Add a soft vignette to guide the eye.
- Landing pages: Pair photoreal product renders with minimalist backgrounds and a realistic shadow to anchor objects.
- Social media: Create a set—square post, story, and reel cover—with consistent colour grading to build recognition across touchpoints.
- Email banners: Keep them lightweight and high contrast; test dark mode compatibility by previewing in a dark background.
- Ads: Prepare two directions—one photoreal, one illustrated. Let performance data pick the winner. Keep text overlays minimal for clarity.
- Presentations and PDFs: Use illustration styles for explanatory slides. Maintain padding around subjects to avoid cramped layouts.
- Print: For posters or flyers, upscale and check edge sharpness at 100% zoom. Use CMYK conversions only when your printer requires it, and request proofs.
Common Mistakes to Avoid
Sidestep these pitfalls to save time and frustration:
- Vague prompts like “Make it nice” won’t cut it. Add subject, style, composition, and lighting cues to reduce randomness.
- Ignoring aspect ratio: Starting with a square and later forcing a wide banner can crop out important elements. Set the ratio upfront.
- Overstuffed prompts: Too many conflicting styles (e.g., “watercolour + photoreal + neon cyberpunk”) confuse the generator. Limit to 1–2 style anchors.
- Skipping negative prompts: Many artefacts vanish if you specify “no text, no watermark, no distorted hands”.
- Not fixing seeds: If you find a look you love, save the seed. Changing it will often change the entire vibe.
- Over-editing: Heavy sharpening or saturation can introduce halos and banding. Make small, incremental edits and preview on multiple screens.
- Copyright blind spots: Avoid logos and protected characters. Create original marks in the editor or use licensed assets.
- Accessibility oversight: Low contrast and busy textures can make overlay text unreadable, especially on mobile.
Storing Tips for the Recipe
Keep your creative kitchen tidy so you can find and reuse the best ideas:
- Organised folders: Sort by campaign, channel, and date. Example: /2025_Q1/spring_launch/ads/16×9/.
- Version control: Save only your top 2–3 variants per concept. Archive the rest to avoid clutter.
- Seed and settings log: Keep a simple spreadsheet noting prompt, seed, aspect ratio, and standout edits. This is gold for repeatable results.
- Export presets: Create presets for web, social, and print so exports stay consistent.
- Backup and sync: Store master files in cloud storage with automatic versioning. Keep a local copy of final deliverables.
- Metadata: Include alt text, colour notes, and usage rights in a sidecar doc to speed up publishing and collaboration.
Conclusion
You just walked through a practical recipe to go from idea to publish-ready creative with Pixnova AI. Define your goal, write a structured prompt, dial in generation controls, iterate with purpose, and finalise with smart edits and optimised exports. Whether you’re building blog heroes, ad variants, or product visuals, this seven-step flow helps you ship faster with confidence. Ready to create pro visuals? Learn pixnova ai with a step-by-step guide to its AI image generator, including prompts tips and editing tricks in 7 steps Try—and share your results. Drop your favourite prompt formula or niche in the comments, and explore related posts for prompt packs, colour palettes, and channel-specific templates.
FAQs
What makes a “good” prompt for Pixnova AI?
A good prompt clearly defines the subject, style, lighting, and composition. Include 1–2 style anchors, specify aspect ratio, and add negative prompts like “no text” and “no watermark”. Keep it structured, then iterate with small, deliberate changes.
How do I get consistent results across a campaign?
Fix your seed, aspect ratio, and palette. Save an edit preset for colour grading. Reuse the same descriptive phrasing (“soft morning light”, “matte textures”) to keep outputs cohesive. Log settings so your team can replicate the look.
Can I use Pixnova AI images commercially?
Check Pixnova AI’s current terms for licensing and usage rights. As a best practice, avoid including recognisable logos or trademarked characters in generations. For product imagery, keep branding assets original or properly licensed.
How do I remove artefacts like odd hands or warped text?
Use negative prompts (e.g., “no extra fingers, accurate hand anatomy”) and inpainting to fix localised issues. If artefacts persist, adjust guidance strength or switch the seed while keeping the rest of your prompt stable.
What file format should I export for the web?
WebP usually offers great quality at smaller sizes. Use PNG when you need transparency or crisp flat colours. For print, export high-resolution PNG or TIFF and confirm profile requirements with your printer.
Can I start with a real photo and enhance it?
If Pixnova supports image-to-image or reference input, you can upload a photo and guide the transformation with a prompt. Use moderate strength so the model respects your composition while enhancing style and lighting.
How do I make images accessible?
Use high-contrast colour pairs for overlay text, avoid overly busy backgrounds, and add descriptive alt text that explains the subject and purpose. Test your design in dark mode and on small screens for readability.
What’s the fastest way to produce multiple sizes?
Generate the master in your most demanding size (often a 16:9 hero). Use outpainting to adapt to other ratios without cropping the subject, then export presets for each format. Batch your edits to keep the look consistent.
Have another question about prompts, styles, or editing? Ask in the comments and I’ll add it to this FAQ, along with a fresh example and prompt you can copy-paste.
Share this content:


Post Comment